|
|
Post by Bluecorsair on Oct 28, 2005 21:48:15 GMT -5
I found that it is quite easy and simple to scratchbuild your own wire looms rather then buy Photoetched ones. I use .010 sheet plastic, then drill holes of the proper diameter in it and cut it out with an x-acto knife, sand down the edges with a sanding stick. Then route the spark-plug wires through it and you have an engine with spark plug wires that have been routed much more neatly and realisticly. No need to buy Photoetched wire looms   |
|
|
|
Post by Bluecorsair on Nov 3, 2005 17:44:14 GMT -5
Dan..Do you have you a closer view of this  and how you cut it..Please?..Even when I bring it in close I can't see what you did  ..Can you Zoooom it in tight?I'm asking for when it wasn't on the car with the wires through it.. If it helps a little, click it to enlarge then click it again and it will enlarge even more. You cut it just like regular plastic with an X-acto knive, or you can use a miniature pair of scissors because its so thin which is what I prefer to use. If you want, you can see the rest of the engine and all right here: 7055admin.proboards51.com/index.cgi?board=factorystock&action=display&thread=1127442110And here's some closer and more pictures for you, but they're not very great pictures because its so hard to get something that small with my low quality digital camera.  You start out with .010" sheet plastic
 Then cut a small rectangle of the plastic off with an X-acto knive or miniature pair of scissors.
 This it what you'll have so far, just a small rectangular piece of .010 plastic like that lying on my finger.
 Since its so squarish, you'll want to sand down the edges so they're rounded, that way it looks more realistic.
 Next take your pin-vise and proper size drill bit. Then drill the holes into the loom (the small piece of plastic) side by side. I would have taken a picture of this but its just to small.
Next paint the loom, usually they're exposed metal which is closer to a silver color but I painted mine black so it would stand out in the pictures.
 Once you've painted it, insert the wires and wire your engine. Just repeat these steps to make the rest of the wire looms required to wire your engine.
 Here I made it so you can see the looms a little better, click it to enlarge.
If you still don't understand it or have any more questions be sure to ask. |
|
|
|
Post by Bluecorsair on Nov 5, 2005 10:00:16 GMT -5
Anytime, They're not quite as realistic as aftermarket wire looms but they also don't cost 5.75$ + shipping either. But even so I think they add quite a bit of realism just in the way that it holds the wires together neatly. Its also alot more satisfying to scratchbuild it rather than purchase it.  Model Car Garage Wire Looms |
|
|
|
Post by Scale-Master on Nov 8, 2005 8:52:24 GMT -5
You got that right!
One additional tip if you don't mind...
I prefer to drill first, then cut them out, (much like the original post in this thread described).
It gives me more to hold onto while I'm drilling, less likey to add holes to my fingers... - Mark
|
|
|
|
Post by Scale-Master on Nov 8, 2005 8:54:20 GMT -5
P.S.
Dan,
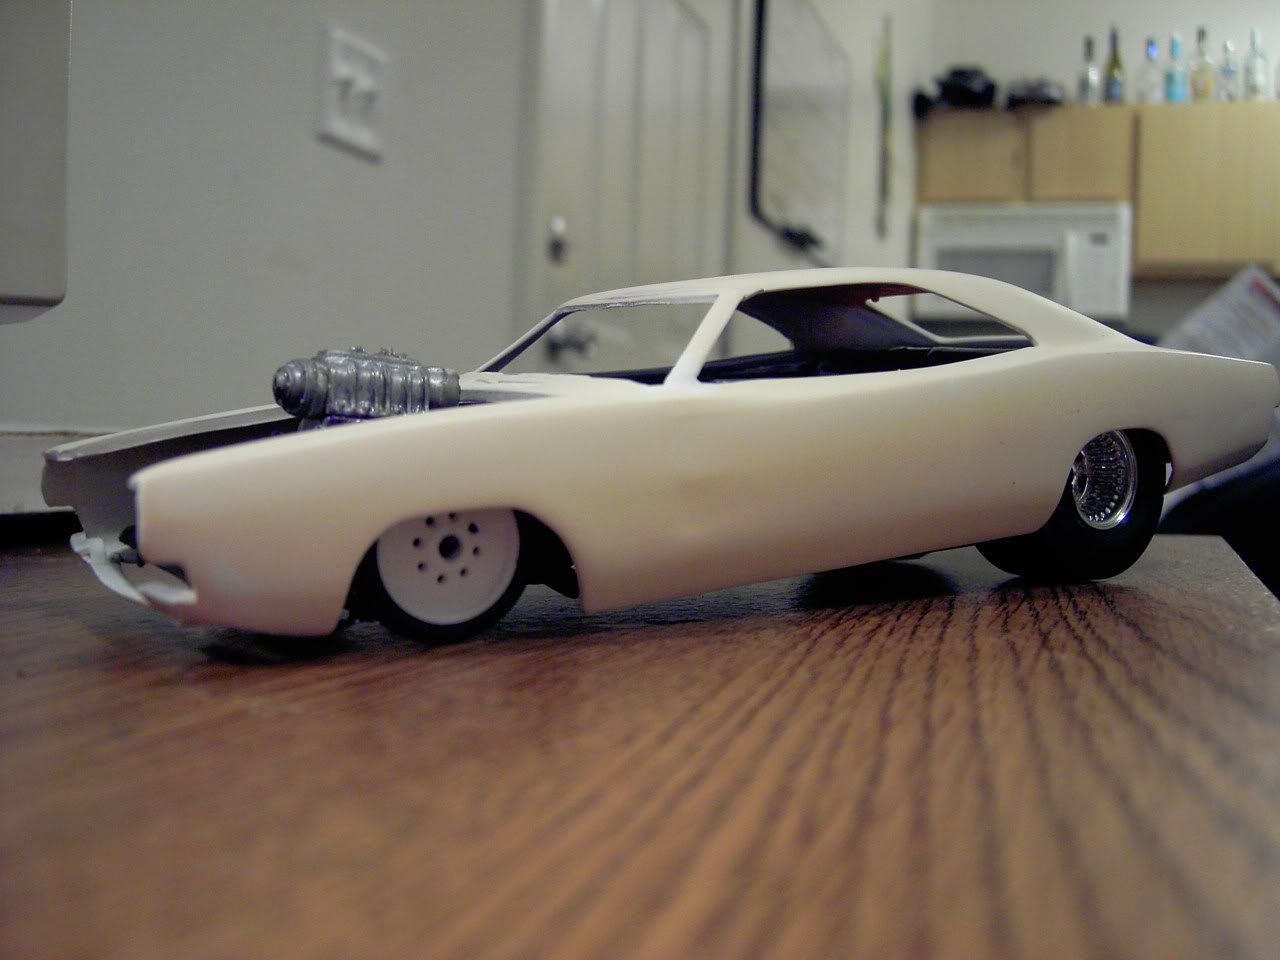
Are those wheels/tires from a Classic Metalworks model? - Mark
|
|
|
|
Post by Bluecorsair on Nov 8, 2005 15:31:45 GMT -5
P.S. Dan, Are those wheels/tires from a Classic Metalworks model? - Mark Thanks for the comments and tip! The wheels are just kit supplied plastic wheels. To be exact they're magnum 500's out of the new 69' Charger kit done by Revell. |
|
|
|
Post by drppdyllwrngr on Dec 12, 2005 22:09:15 GMT -5
2 questions...where did you find those drill bits at? and #2, if you decide not to use wire looms, how do you keep the wires in the area you want them in? i'm working on some and they are wanting to go everywhere.
|
|
|
|
Post by Bluecorsair on Dec 13, 2005 19:59:35 GMT -5
2 questions...where did you find those drill bits at? and #2, if you decide not to use wire looms, how do you keep the wires in the area you want them in? i'm working on some and they are wanting to go everywhere. The drill bits are made by X-acto, I usually get them from my hobby shop but you can also pick them up at www.xactoblades.com part number X 6412. They're very high quality and go from 61-80 which is litteraly hair thin. About the wires, with or without looms I usually take my distributor after wiring it but before putting in the block and lay out the wires in nice neat lines as close and parralel to eachother as I can get. Then I place the distributor in a hole I drilled on the engine block. With the wires already nicely aligned perfectly parralel to eachother on each side, I have a nice head start on making them look neat. Then I use my fingers and needle nose to try to make them follow the contour of the engine block and look realistic. A tip for realism, I like to dab the wires down in the center with my finger to give them the appearance of sag. Since the SPWs are so flexible on 1:1, they tend to sag a bit. |
|
|
|
Post by italianstallion3113 on Dec 15, 2005 17:20:45 GMT -5
Awesome Tip Dan, May I ask what kind of drill bits those are? Just curious on who makes them
|
|
|
|
Post by Bluecorsair on Dec 15, 2005 19:47:28 GMT -5
Awesome Tip Dan, May I ask what kind of drill bits those are? Just curious on who makes them I just mentioned that in my previous post but the drill bits are made by X-acto, I usually get them from my hobby shop but you can also pick them up at www.xactoblades.com part number X 6412. They're very high quality and go from 61-80 which is nearly hair thin. |
|

 and how you cut it..Please?..Even when I bring it in close I can't see what you did
  ..Can you Zoooom it in tight?I'm asking for when it wasn't on the car with the wires through it..